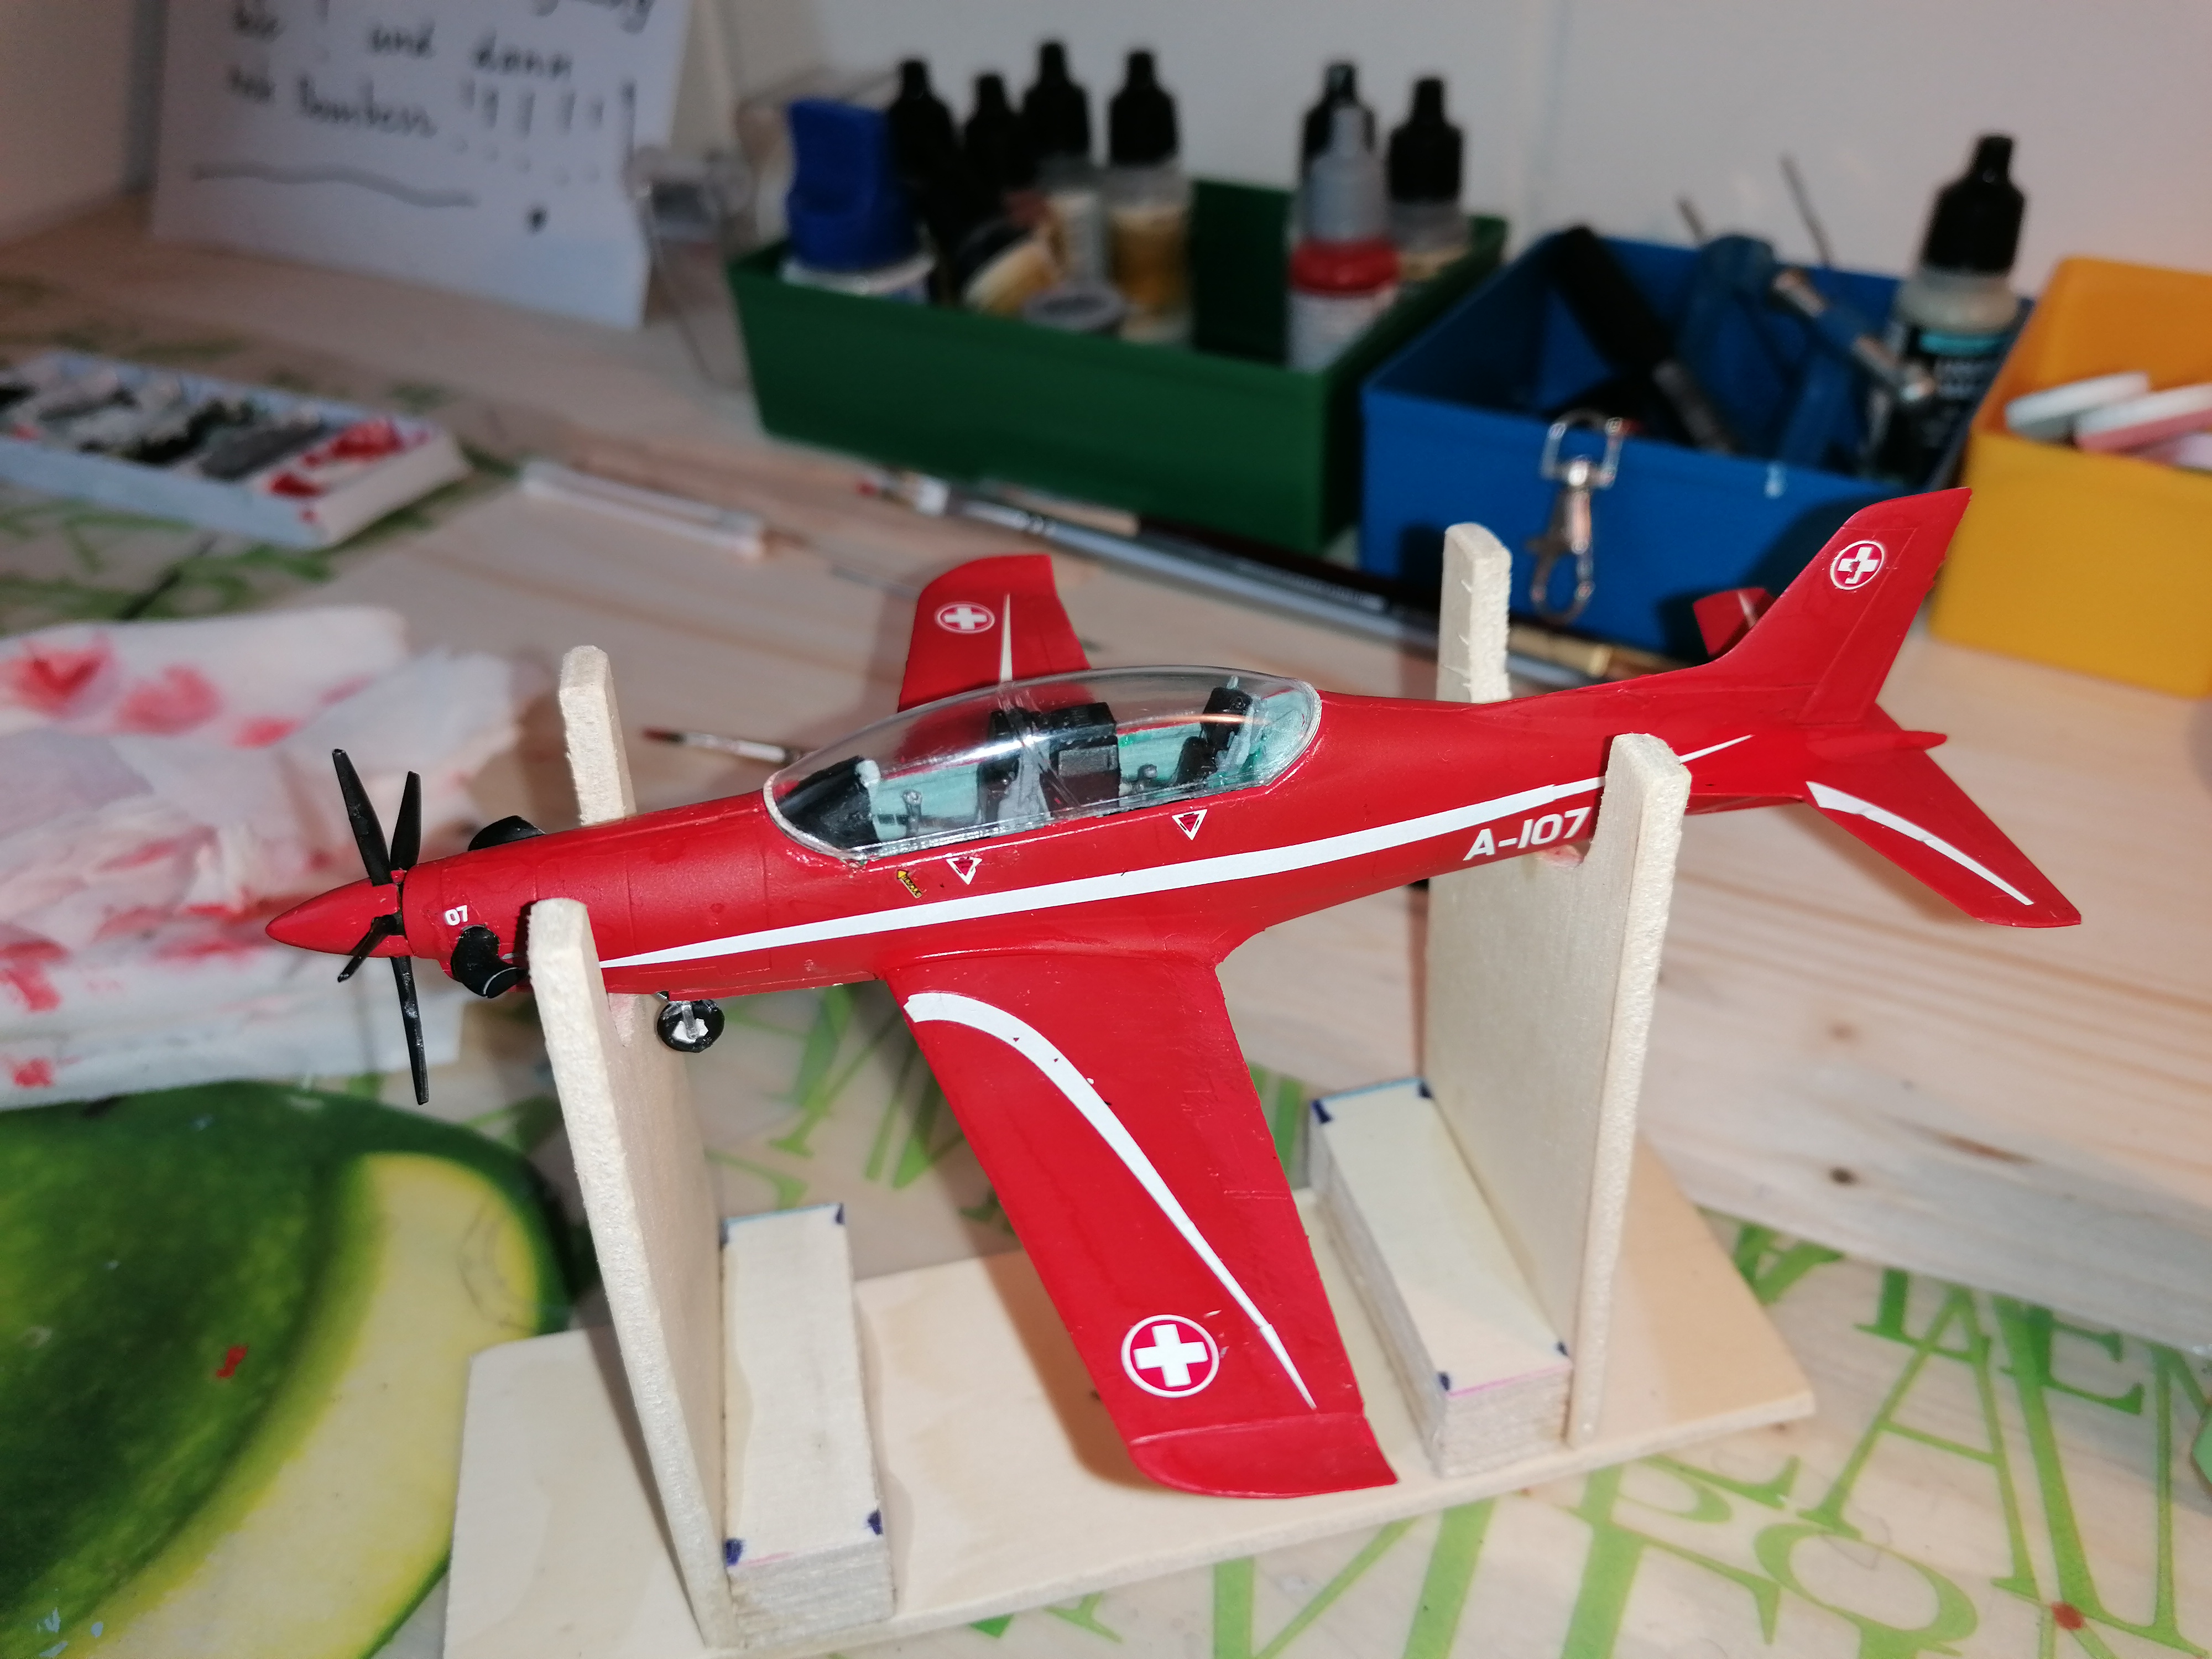
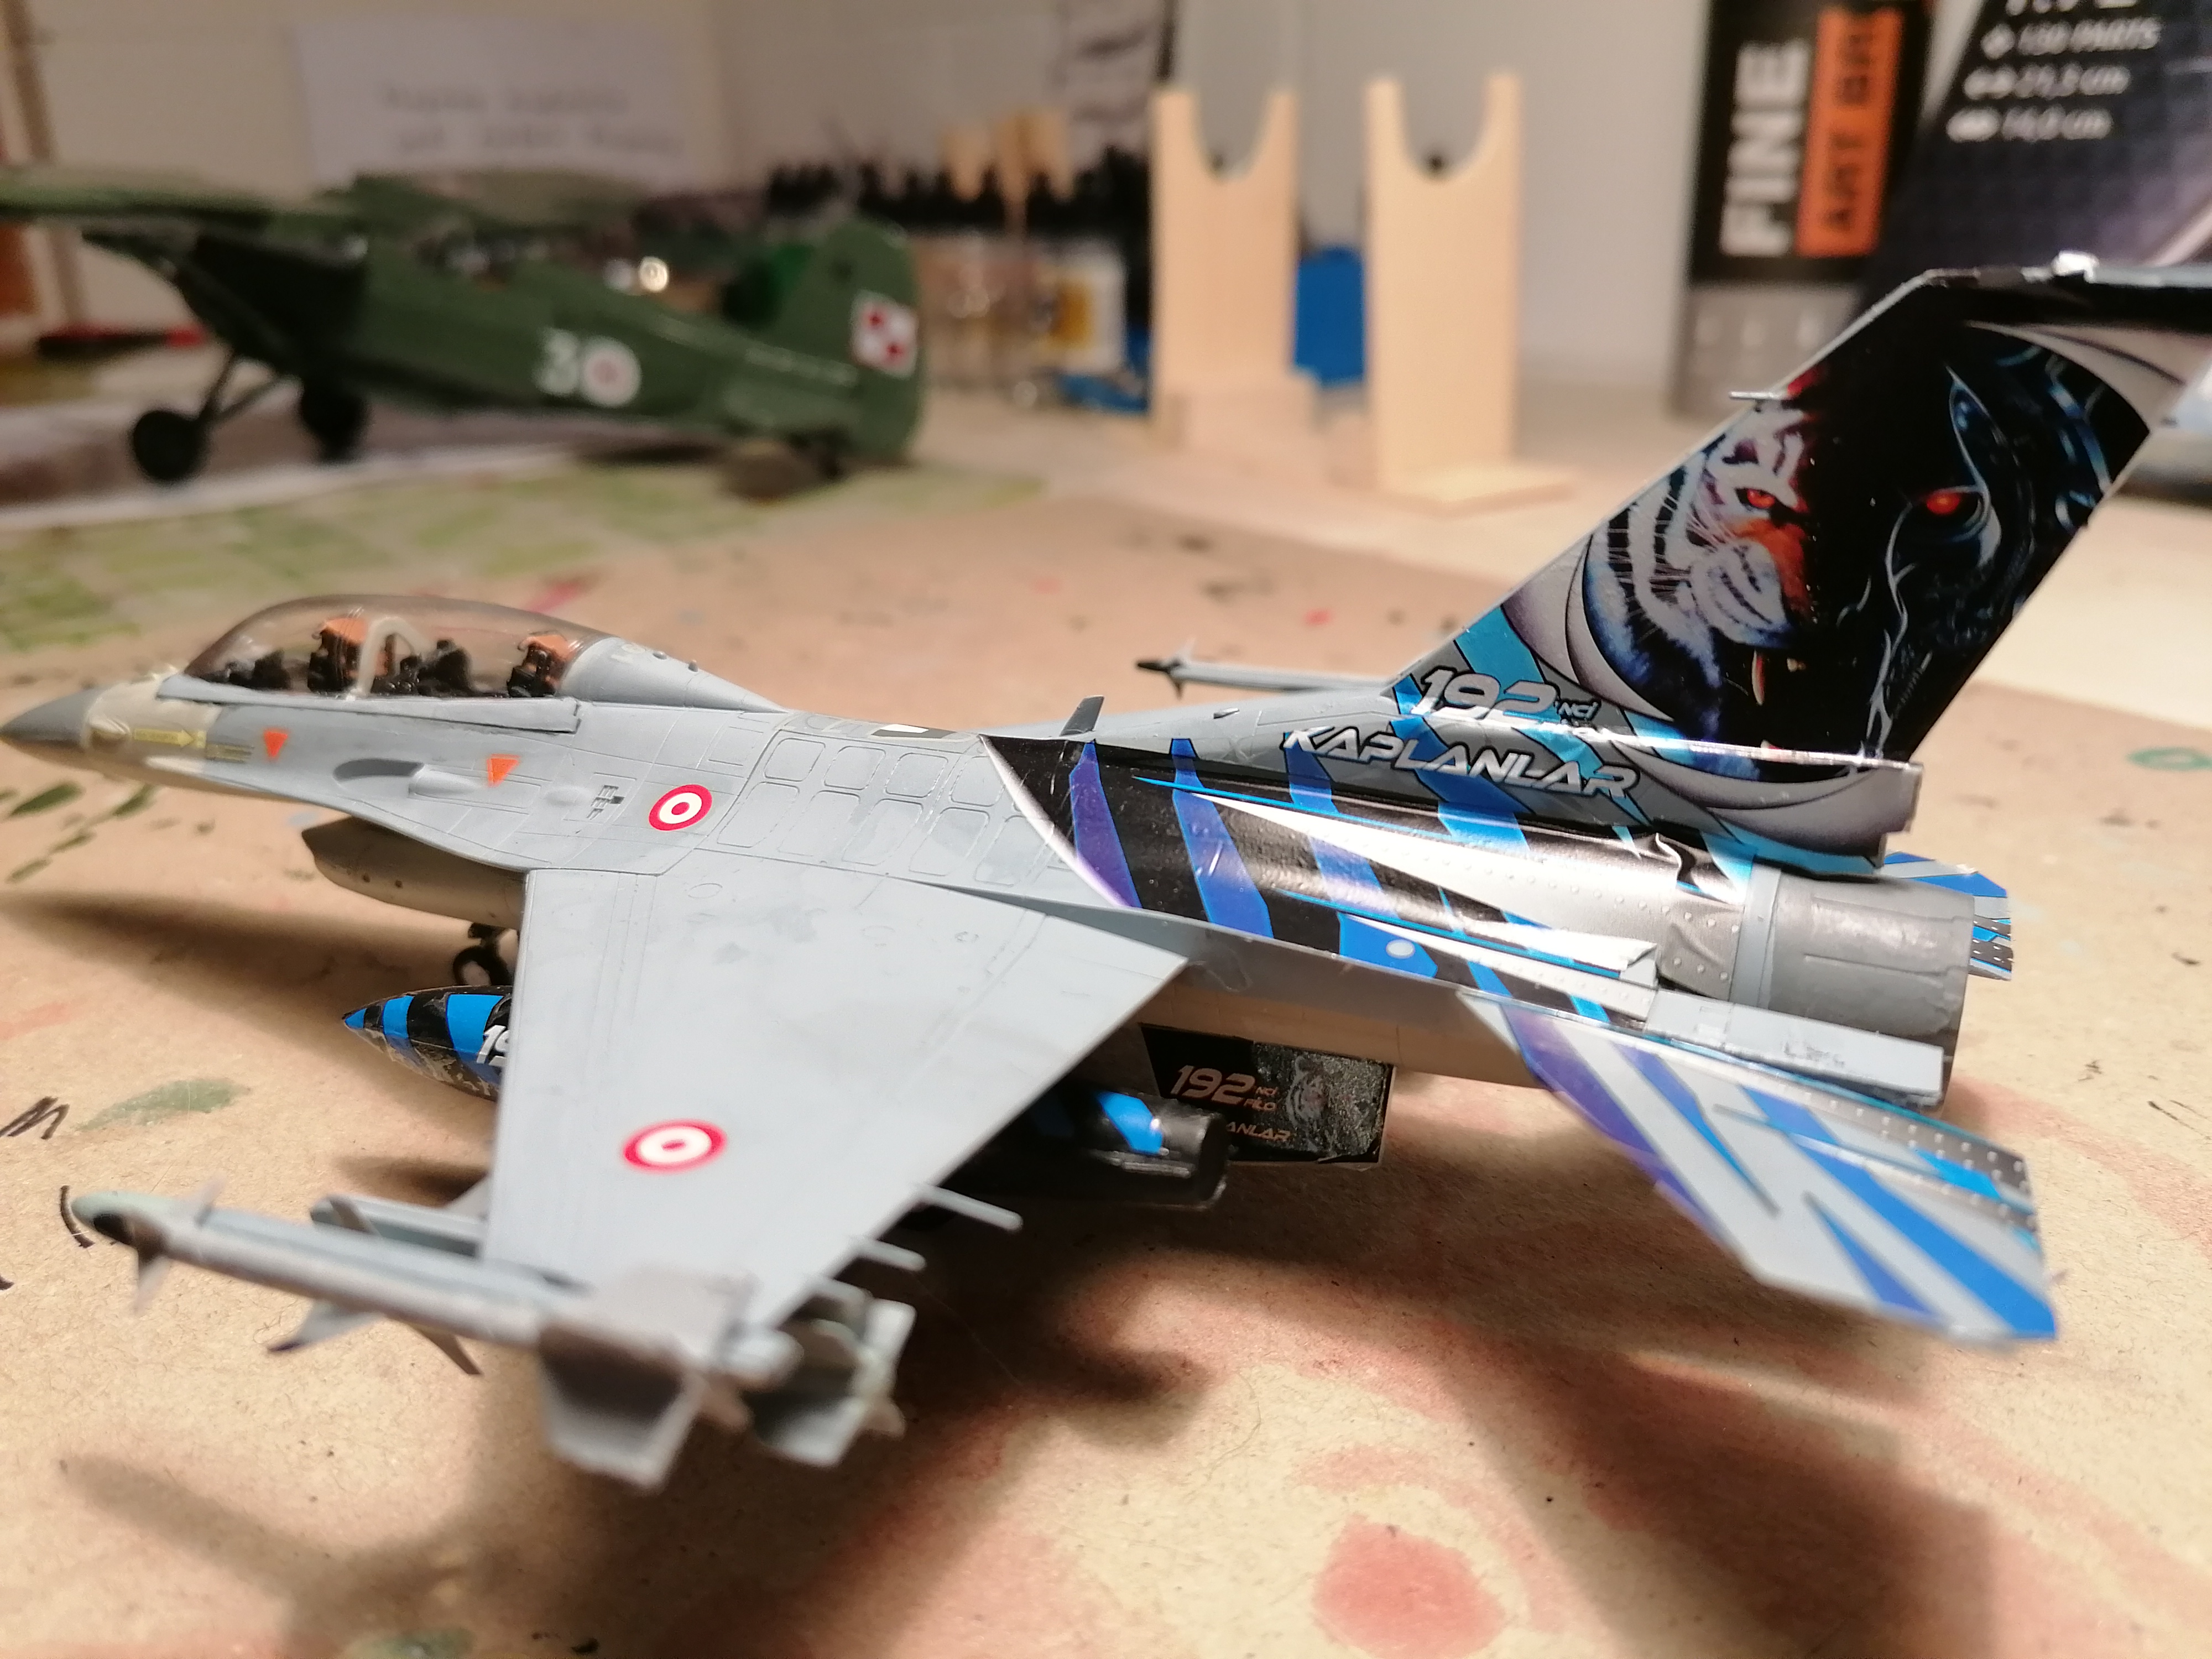
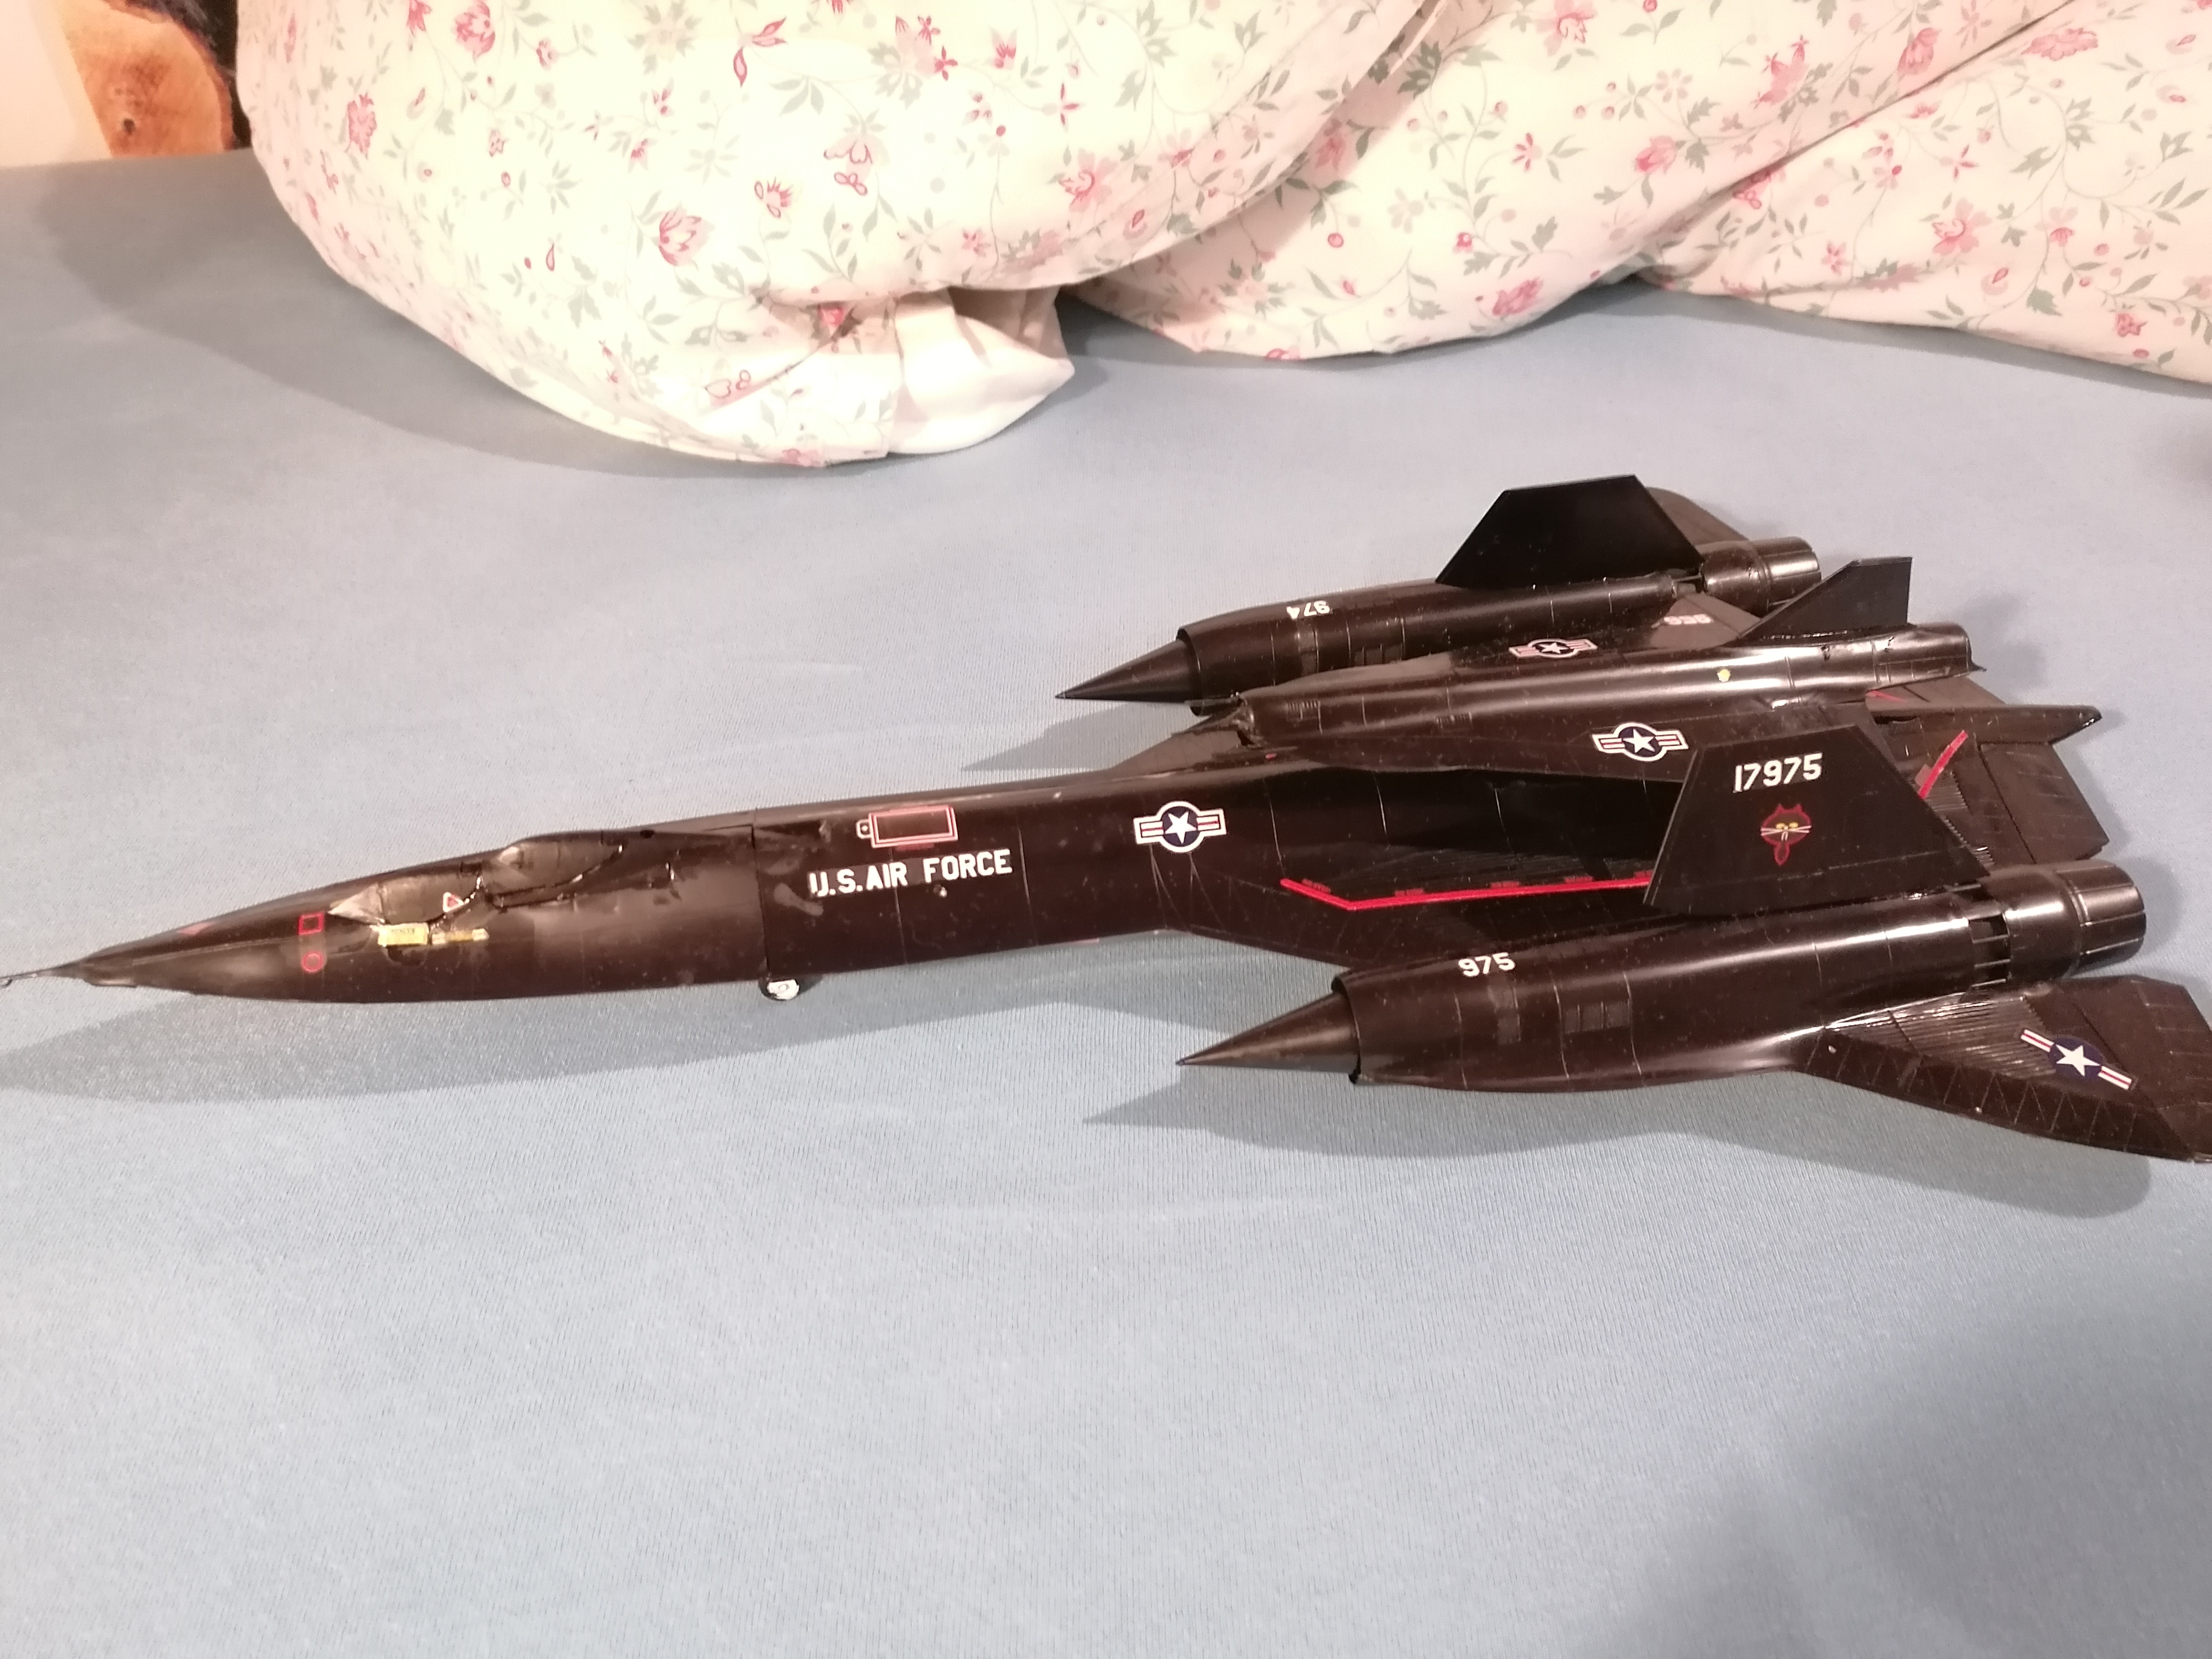
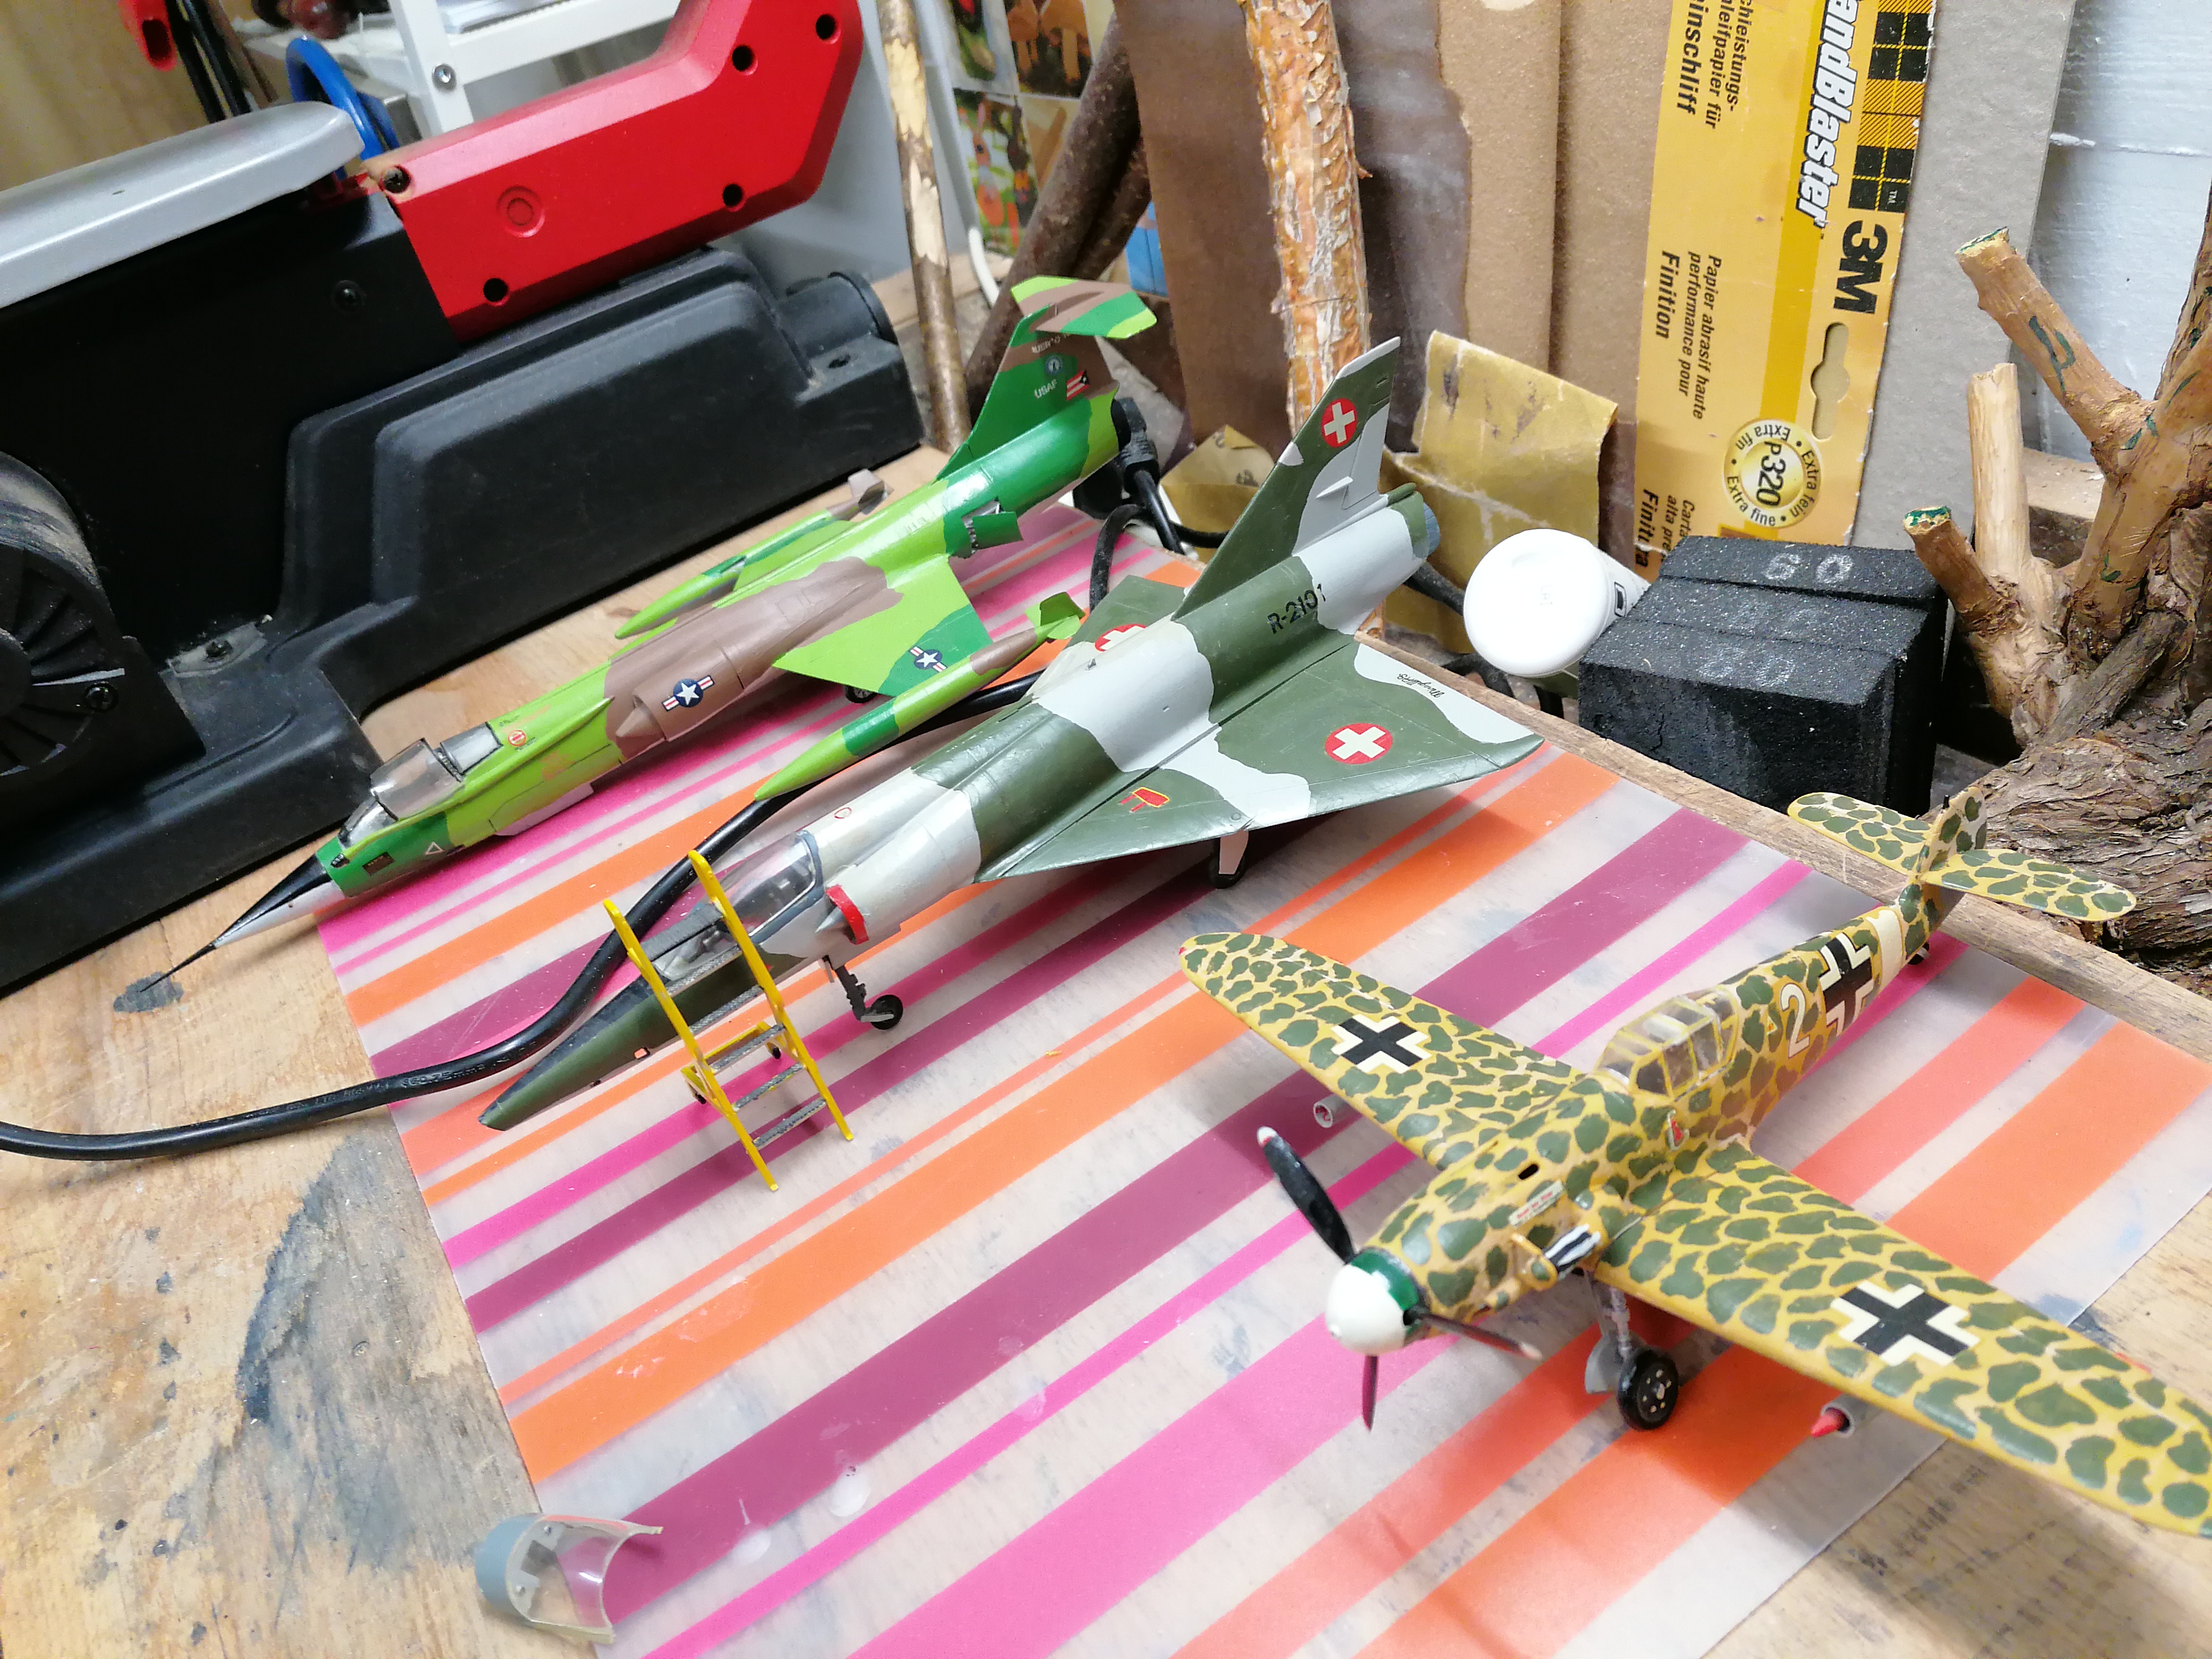
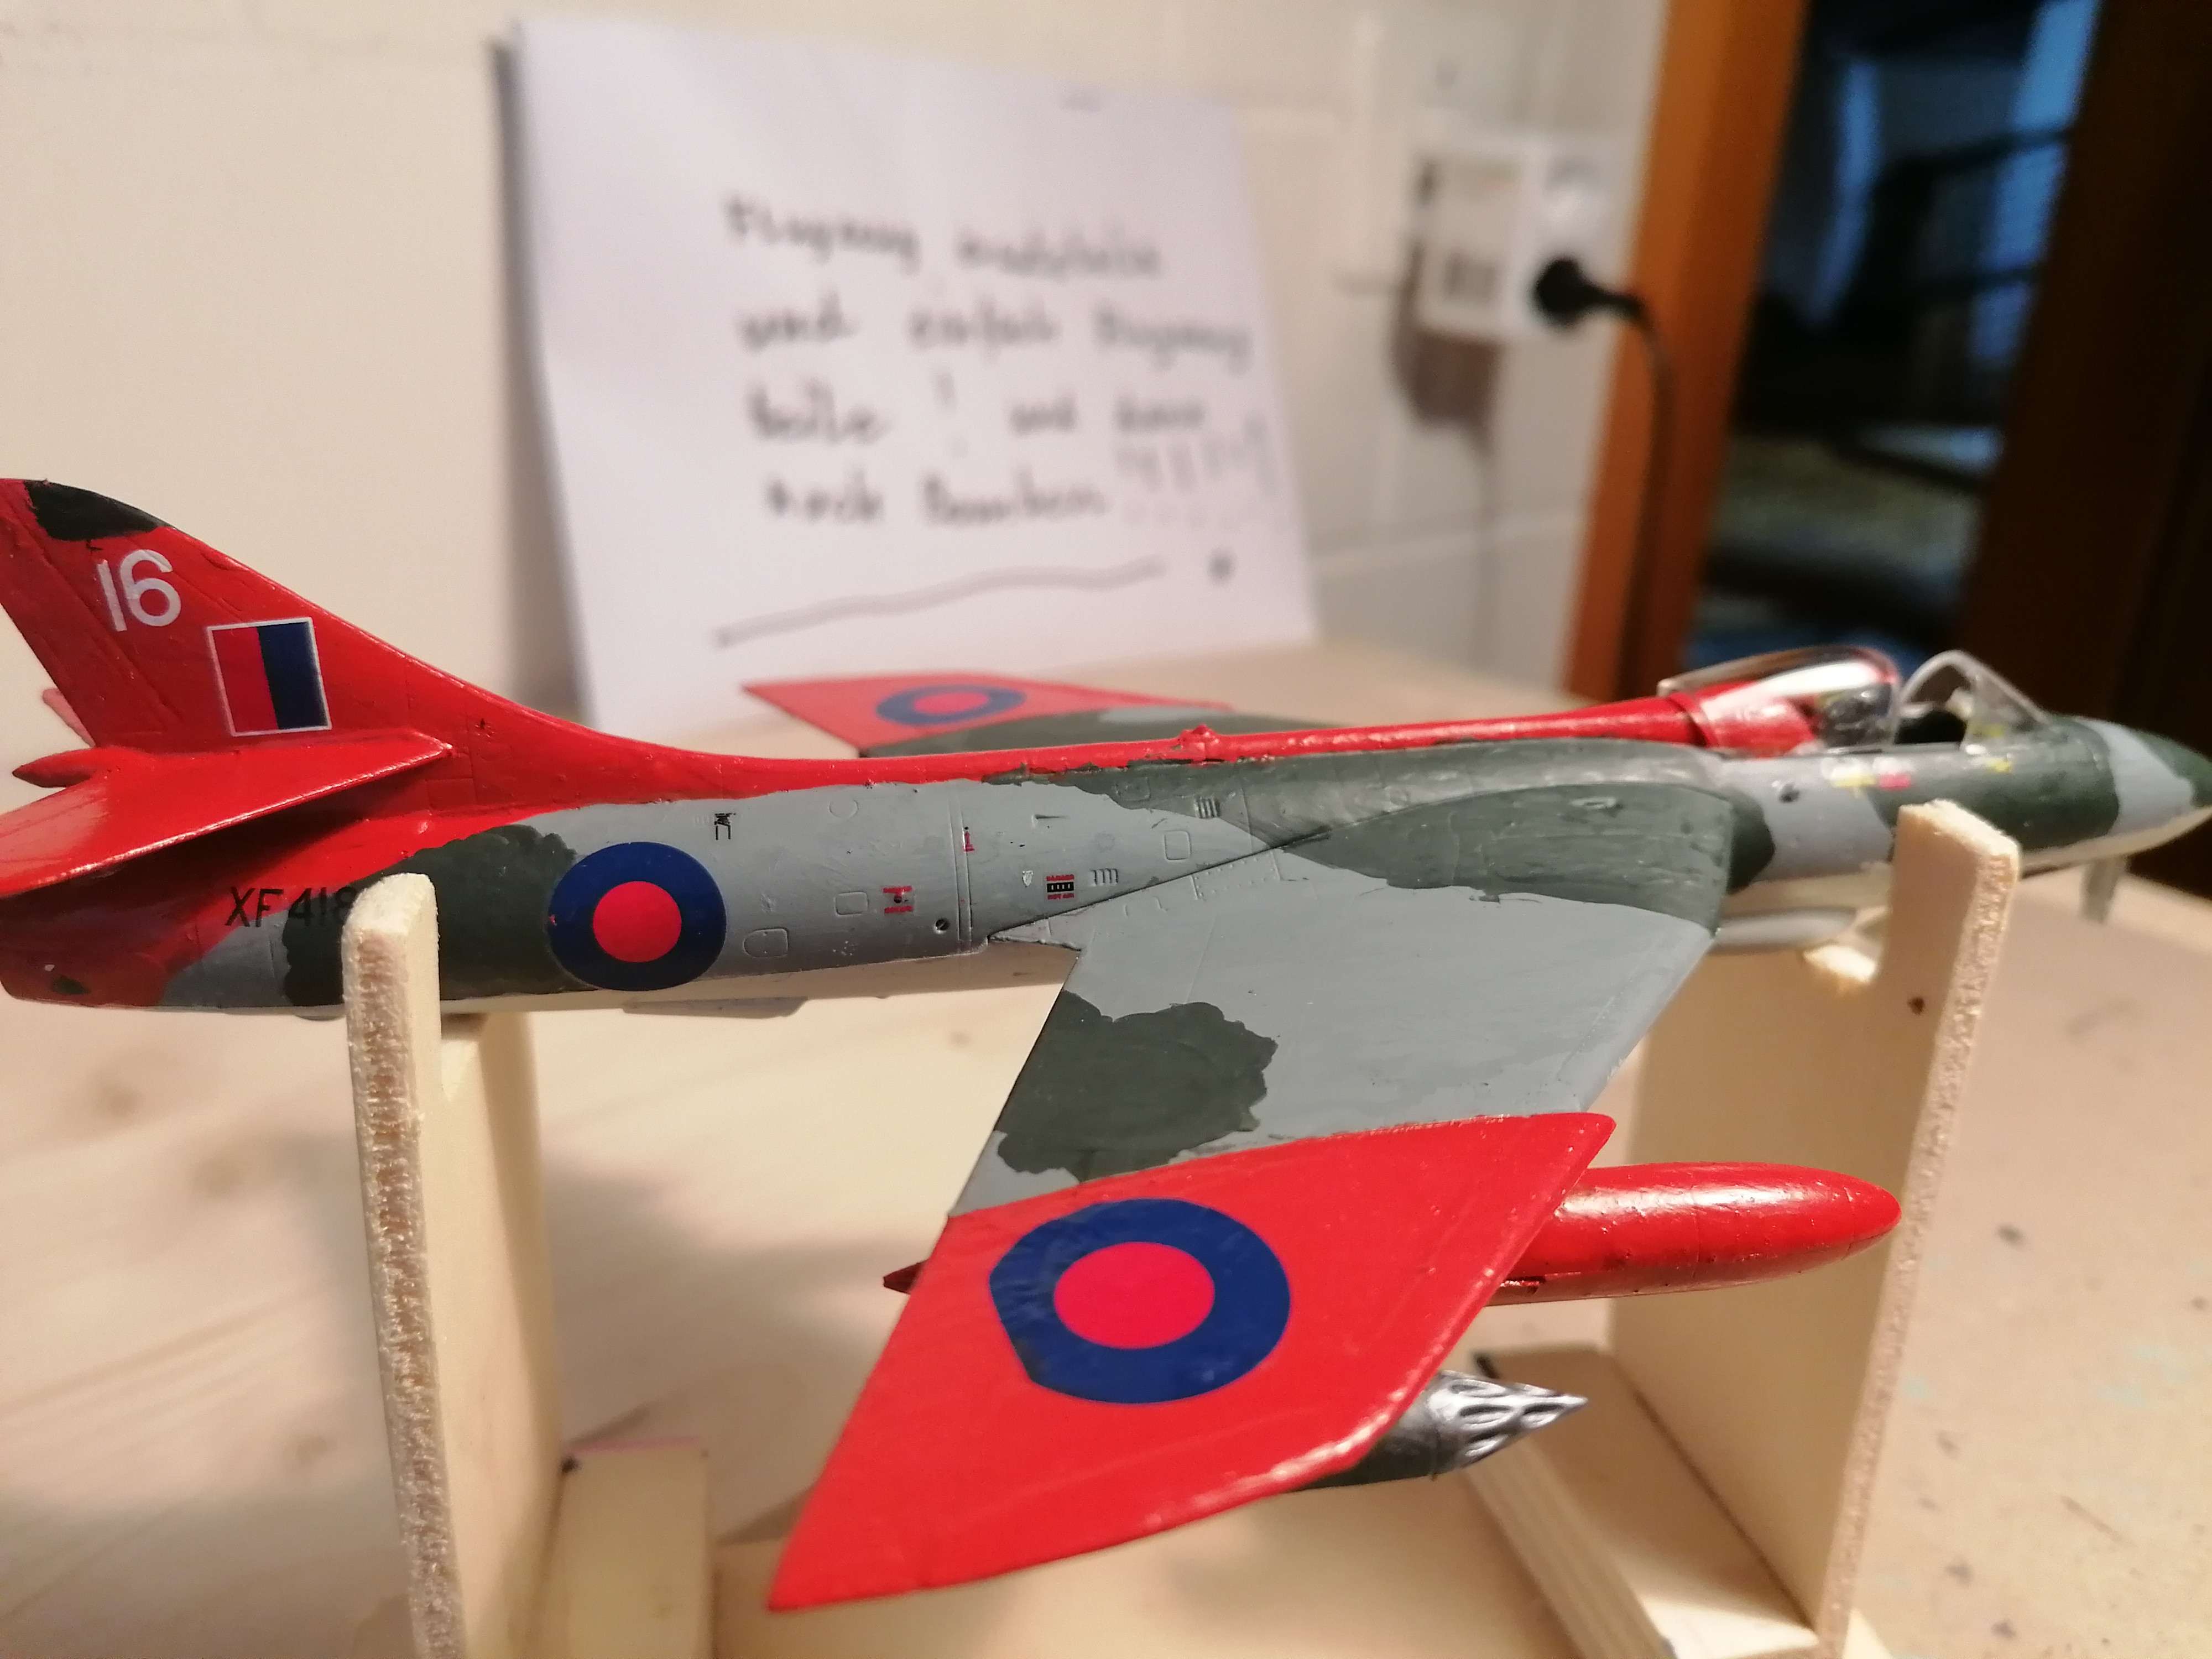
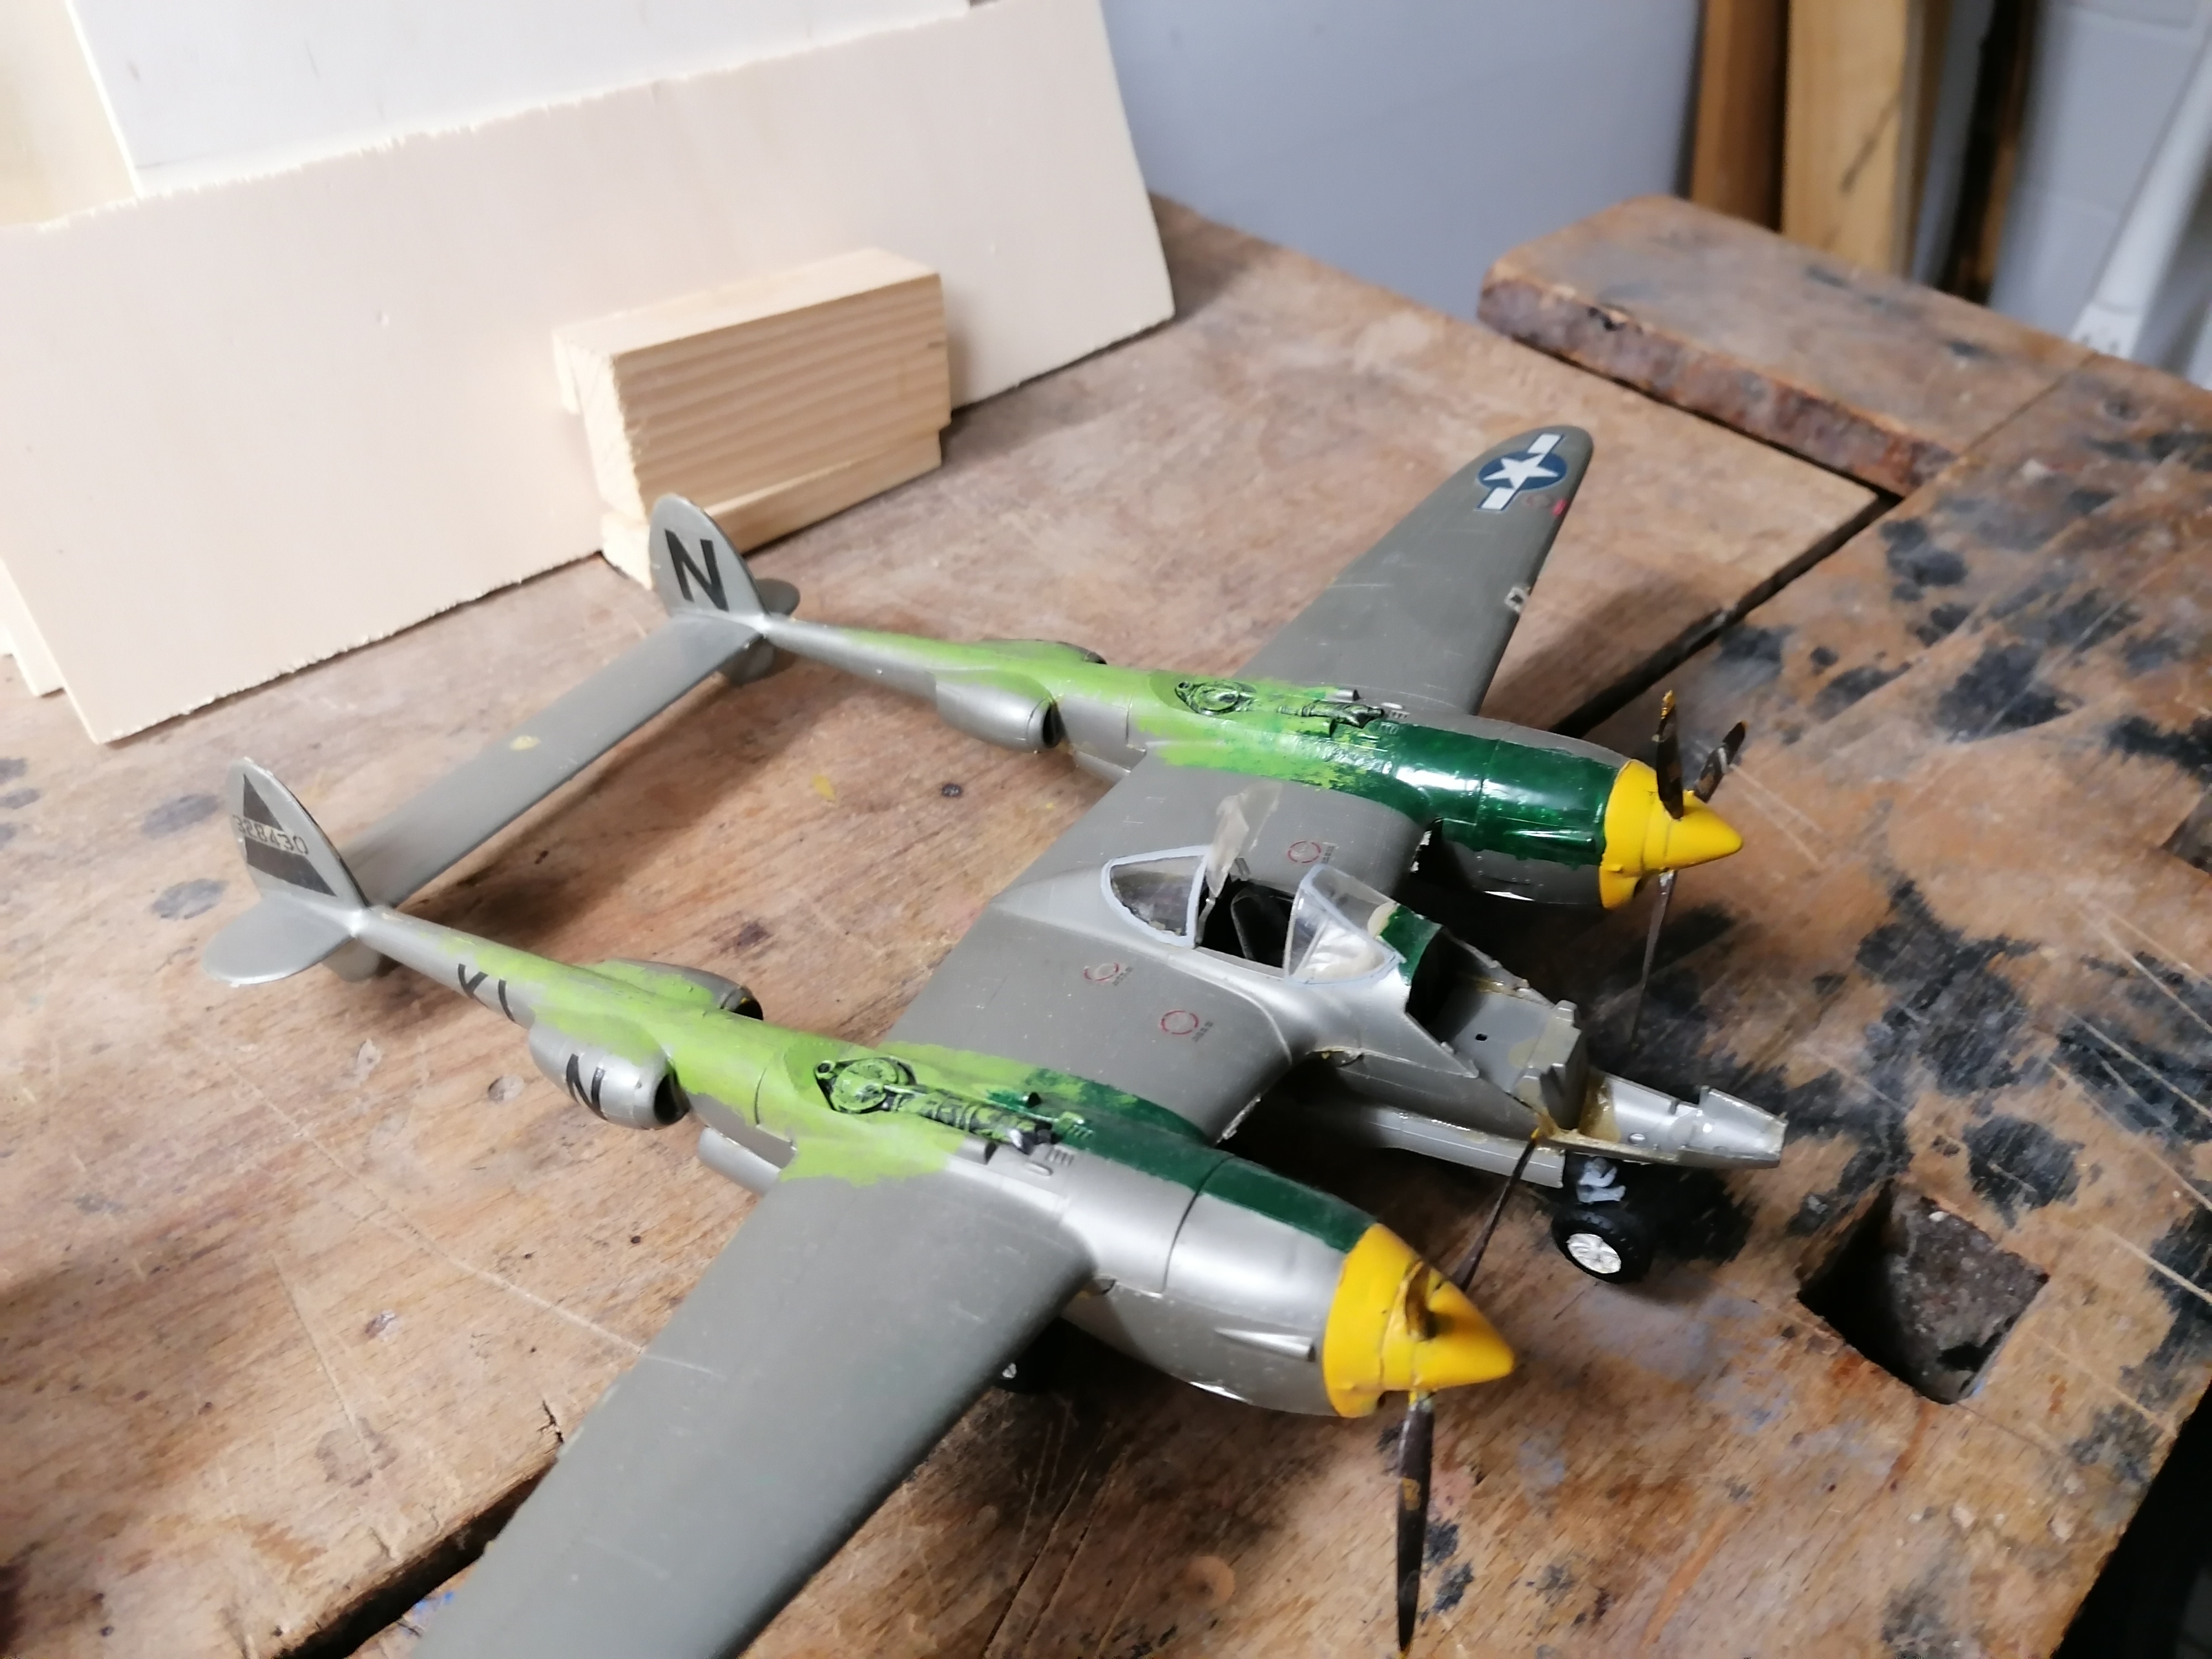
Flying4nature hat den Nachweis A1/A3 für Fernpiloten erreicht! Mit der neuen EU Drohnenverordnung 2021 ist es obligatorisch die Online-Prüfung der LBA (Luftfahrt-Bundesamt) zu absolvieren. Sie können unter diesem LINK die nötigen Schritten unternehmen: LPLUS TestStudio (lba-openuav.de). Es ist voll machbar. Einfach gründlich die Dokumentation lernen und aufmerksam die sehr gut strukturierten Videos-Tutorials folgen. Ich konnte in zirka 6h Studium dann die Prüfung mit Erfolg bestehen. Für die Registrierung müssen Sie unbedingt ein Bild Ihrer Identitäskarte oder Ihres Passes sowie die Daten Ihrer Versicherung bereit haben. Sie erhalten somit die Ihnen zugeteilte UAS-Betreiber-ID (e-ID), welche Sie auf Ihre Drohnen anbringen müssen. Viel Erfolg dabei! Weitere nützlichen Informationen unter: Drohnen Multicopter Quadrocopter | Tests, Vergleiche, Technik – Quadcopter / Roboter
Category Archives: Review
Mavic Pro, short review
Wie vor 4 Jahren mit dem Blade 350QX (V1) wird flying4nature kein Schwergewicht im Bereich der Flugaufnahmen mit Copters legen. Jedoch es gehört dazu heutzutage für jede/r “klassische/r” Modellpilot/in für ein Paar gute Aufnahmen auf bzw. über dem Flugfeld oder in der Natur (mit Berücksichtigung der entsprechenden Gesetzgebung) ein Copter dabei zu haben (…meine Behauptung). Mit dem Mavic Pro von DJI decken Sie die für das “normale Volk” heute zur Verfügung stehende Technologie und können somit qualitativ sehr gute Bilder und Videos aufnehmen und gleichzeitig mit den verschiedenen Flugmodis auch Spass haben, welcher mit dem Fliegen eines Copter, meiner Meinung nach, oft fehlt…sorry hier kommt mein Herz als Modellseglerpilot heraus. Ich empfehle das Mavic Pro DJI auf jedem Fall!
Als erster Eindruck nach 2-3 Flügen mit dem Mavic Pro hier unten meine “positiven und negativen” Erlebnisse.
POSITIV
- Klapprotoren, transportabel;
- Vielfältige Applikationen und bedienungsfreundliche App;
- Flugverhalten, Präzision, Stabilität;
- Gimbal und cam (inkl. Zoom und Richtungsregulierung) sensationell;
- Sicherheit (Software durchgedacht).
NEGATIV
- Fernbedienung > etwas zu klein für grosse Hände;
- Vor dem ersten Flug > erforderliche Anmeldung/Account beim DJI;
- Tragtasche zu knapp (Ladegerät, 3x LiPo> kein Platz für Combo);
- zT zu viele Meldungen (Icons) auf der Smartphone während des Fluges;
- Keine vollständige Bedienungsanleitung in Papierform geliefert.
TIPPS von mir
- Bedienungsanleitungen aus der DJI Seite herunterladen und gründlich lesen;
- Phasenweise die vielfältigen Funktionalitäten via Smartphone erst üben und nachher fliegen;
- Erst in P-Modus das Gerät beherrschen, später auf Sport einsteigen.
Copter flight – Jeizinen (Switzerland)
Cold flight at the begin of the winter (2015-11-27) in Jeizinen, 1500m ASL in Switzerland. Copter Blade 350QX (V1), GoPro HERO 3 Silv. Ed. and Gimbal BL200 (for review CLICK HERE).
Radian Pro: Spring flight over sea
Spring flight with my Radian Pro (plane review HERE) in Santa Severa (Region Lazio, Rom) over the Mar Tirreno on 29 March 2015 (location review HERE). Wonderfull landscape and quiet beach for promenades and families! Look at the video and pictures below and also in our FLICKR channel (cam: GoPro HERO 3).
Ultegra E from DJI F450
Short flight in Switzerland (region of Geneva) filming the Ultegra E (PCM) from the DJI F450. Subscribe for news our YOUTUBE channel, if you like it!
Install GB200 BL Gimbal on Blade 350QX
Für das Installieren des GB200 BL (Yuneec) beim Blade 350 QX (V1) möchten wir Euch noch die folgenden zusätzlichen Tipps geben (alle Bilder des Autors):
- Erstens sich Überblick verschaffen (Bild 0);
- Das Blade 350QX (V1 oder V2) muss das extra-hoch Landegestell haben (Bilder 1a-1b);
- Für Benutzer der GoPro3 ist die Kamerahalterung (im Kit beinhaltet) zu wechseln (Bild 2a). Montiert auf dem Gimbal beim Einkauf ist die Halterung für die CG01. ACHTUNG: die Platinehalterung muss auch eingewechselt werden (Bilder 2b-2d);
- Die zweiteilige Befestigungsplatte (Bild 3) – d.h. grosse Montageplatte+Kamerabefestigung – ist ebenfalls mit der “schmalen” Montageplatte anzupassen. Montiert beim Einkauf ist eben die grosse Platte, diese passt aber nicht perfekt zum Rumpf des Blade 350Qx;
- Beim Blade 350Qx V1 können nicht alle Funktionen des Gimbals (Winkelsteuer- und Geschwindigkeitsmodus) wie bei der V2 benutzt werden. Somit braucht man bei der V1 nur 1x Steuerkabel (von den 5x im Kit vorhandenen. ACHTUNG nur 1x Kabel ist 3polig!). Eingesteckt wird dies am Copter gemäss Bild 4 und am Gimbal gemäss Bild 5;
- Das Endresultat lässt sich sehen (Bild 6a-6b);
- Weitere Bilder: FLICKR channel oder YOUTUBE channel.
Weitere sehr gute Erklärungen und Bilder sind auch unter diesem BLOG http://www.luftknipser.de/quadcopter/installation-gb200-gimbal-am-blade-350qx-v1/zu finden.
Ich habe das GB200 beim http://www.modellismorossi.it/ gekauft. Ein super Shop in Rom (auch Online Shop vorhanden)! Empfehlenswert!
“Oldtimer” flying with Oly II
Soaring with the Oly II from Skybench (3CH balsa e-glider) in the region of Nyon (Switzerland). Look at the review of flying4nature HERE.
Oly II from Skybench
(by Philippe) A nice evening flight with flying4nature’s ‘big old girl’ the Oly II from Skybench.
You will see a mass of black clouds climbing over the Jura mountains towards ‘home field’ and then Mont Blanc in the background over the far side of Lac Leman. 15 minutes after the flight the black clouds rolled in bringing thunder, lightning and torrential rain. I was very glad to get all that wood safely indoors in time!
The Oly II is an evolution of the Olympic II designed and kitted by Airtronics in 1970. Since she was a huge hit in the 70’s and 80’s, Skybench have done a little tweaking and modernising and the end result is a very fine flying 100″ RE woodie.
Mine is a post 2006 kit using bang up to date electronics and a brushless motor meaning she truly is a fly anywhere, anytime bird.
Some people say that the additional weight of the motor makes the Oly II fly better now than the earlier designs but I am too young to be able to compare. Phew!
Onboard filming was done with a Mobius camera in 1080p at 30fps.
Spring flight with Taser E
Spring flight with the Taser E from PCM (Podivine Composite Modellbau) in Switzerland-Pfannenstiel (countryside of Zürich). Very nice F5J glider (550g incl. 800mAh 3S Lipo). Look at the complete plane review HERE and the description of the fly location HERE.
Nice landing at 04:50!
Paraglider Oxy 1.0 from Opale
Flying4Nature’s team try to find, build and show you nice and fascinating flying RC-technology. I always was passionate about parachutes and paragliders. After a short performance-cost analysis I decided to buy the Oxy 1.0 (incl. the E Backpack XS) from “Opale Paramodels” (France), in my opinion, the best leading company in RC paragliders. Below you can watch a short flight HD video and few pictures. You find the complete Oxy 1.0 review HERE (technical data, more pictures and comments). Don’t hesitate to contact us for questions!
For new experiences on a slope (or E drive out of the plane) to give a try or buy. Relatively easy to build (for everyone with a little RC experience) the Backpack XS has very good instructions. For ESC and RX, as always, personal solutions must be found. The individual parts from G10 fiber are very precisely built/designed , you need not cut or saw. Adhesive is fortunately not necessary! Calibration of the wing is challenging (length of the brake lines that are connected to the two servos) in the first toss. If you already have a bit of RC flight experience, this can be overcome without problem as well. IMPORTANT: NOT TOO MUCH GAS during start up, be subtle! I set the two servos (CH1 and CH6) and motor CH3 to the Futaba T14 flying wing program. The end point of the channels CH1 and CH6 (backward tilt) is programmed from 100% to 0%. Thus, the servos only move forward; curve separately/individually or both at the same time for braking.